Backyard Shed Redesign
Process
Title:
Backyard Shed Redesign
Brief/Context:
This was the final project for my CAD (Computer Aided Design) class where we had to take an existing building and redesign the interior. Since this class was taught during the pandemic, everyone was very limited on what space to use. As I was home during this class, I was really excited that I got to work on the shed in my backyard. It has been a space that I wanted to fix up for a few years and this class taught me how to plan it out and see exactly what I wanted.
Tools Used:
Vectorworks, Twinmotion
PART ONE: Existing Space (Initial Photos/Measurements/Floor Plan/3D Model):
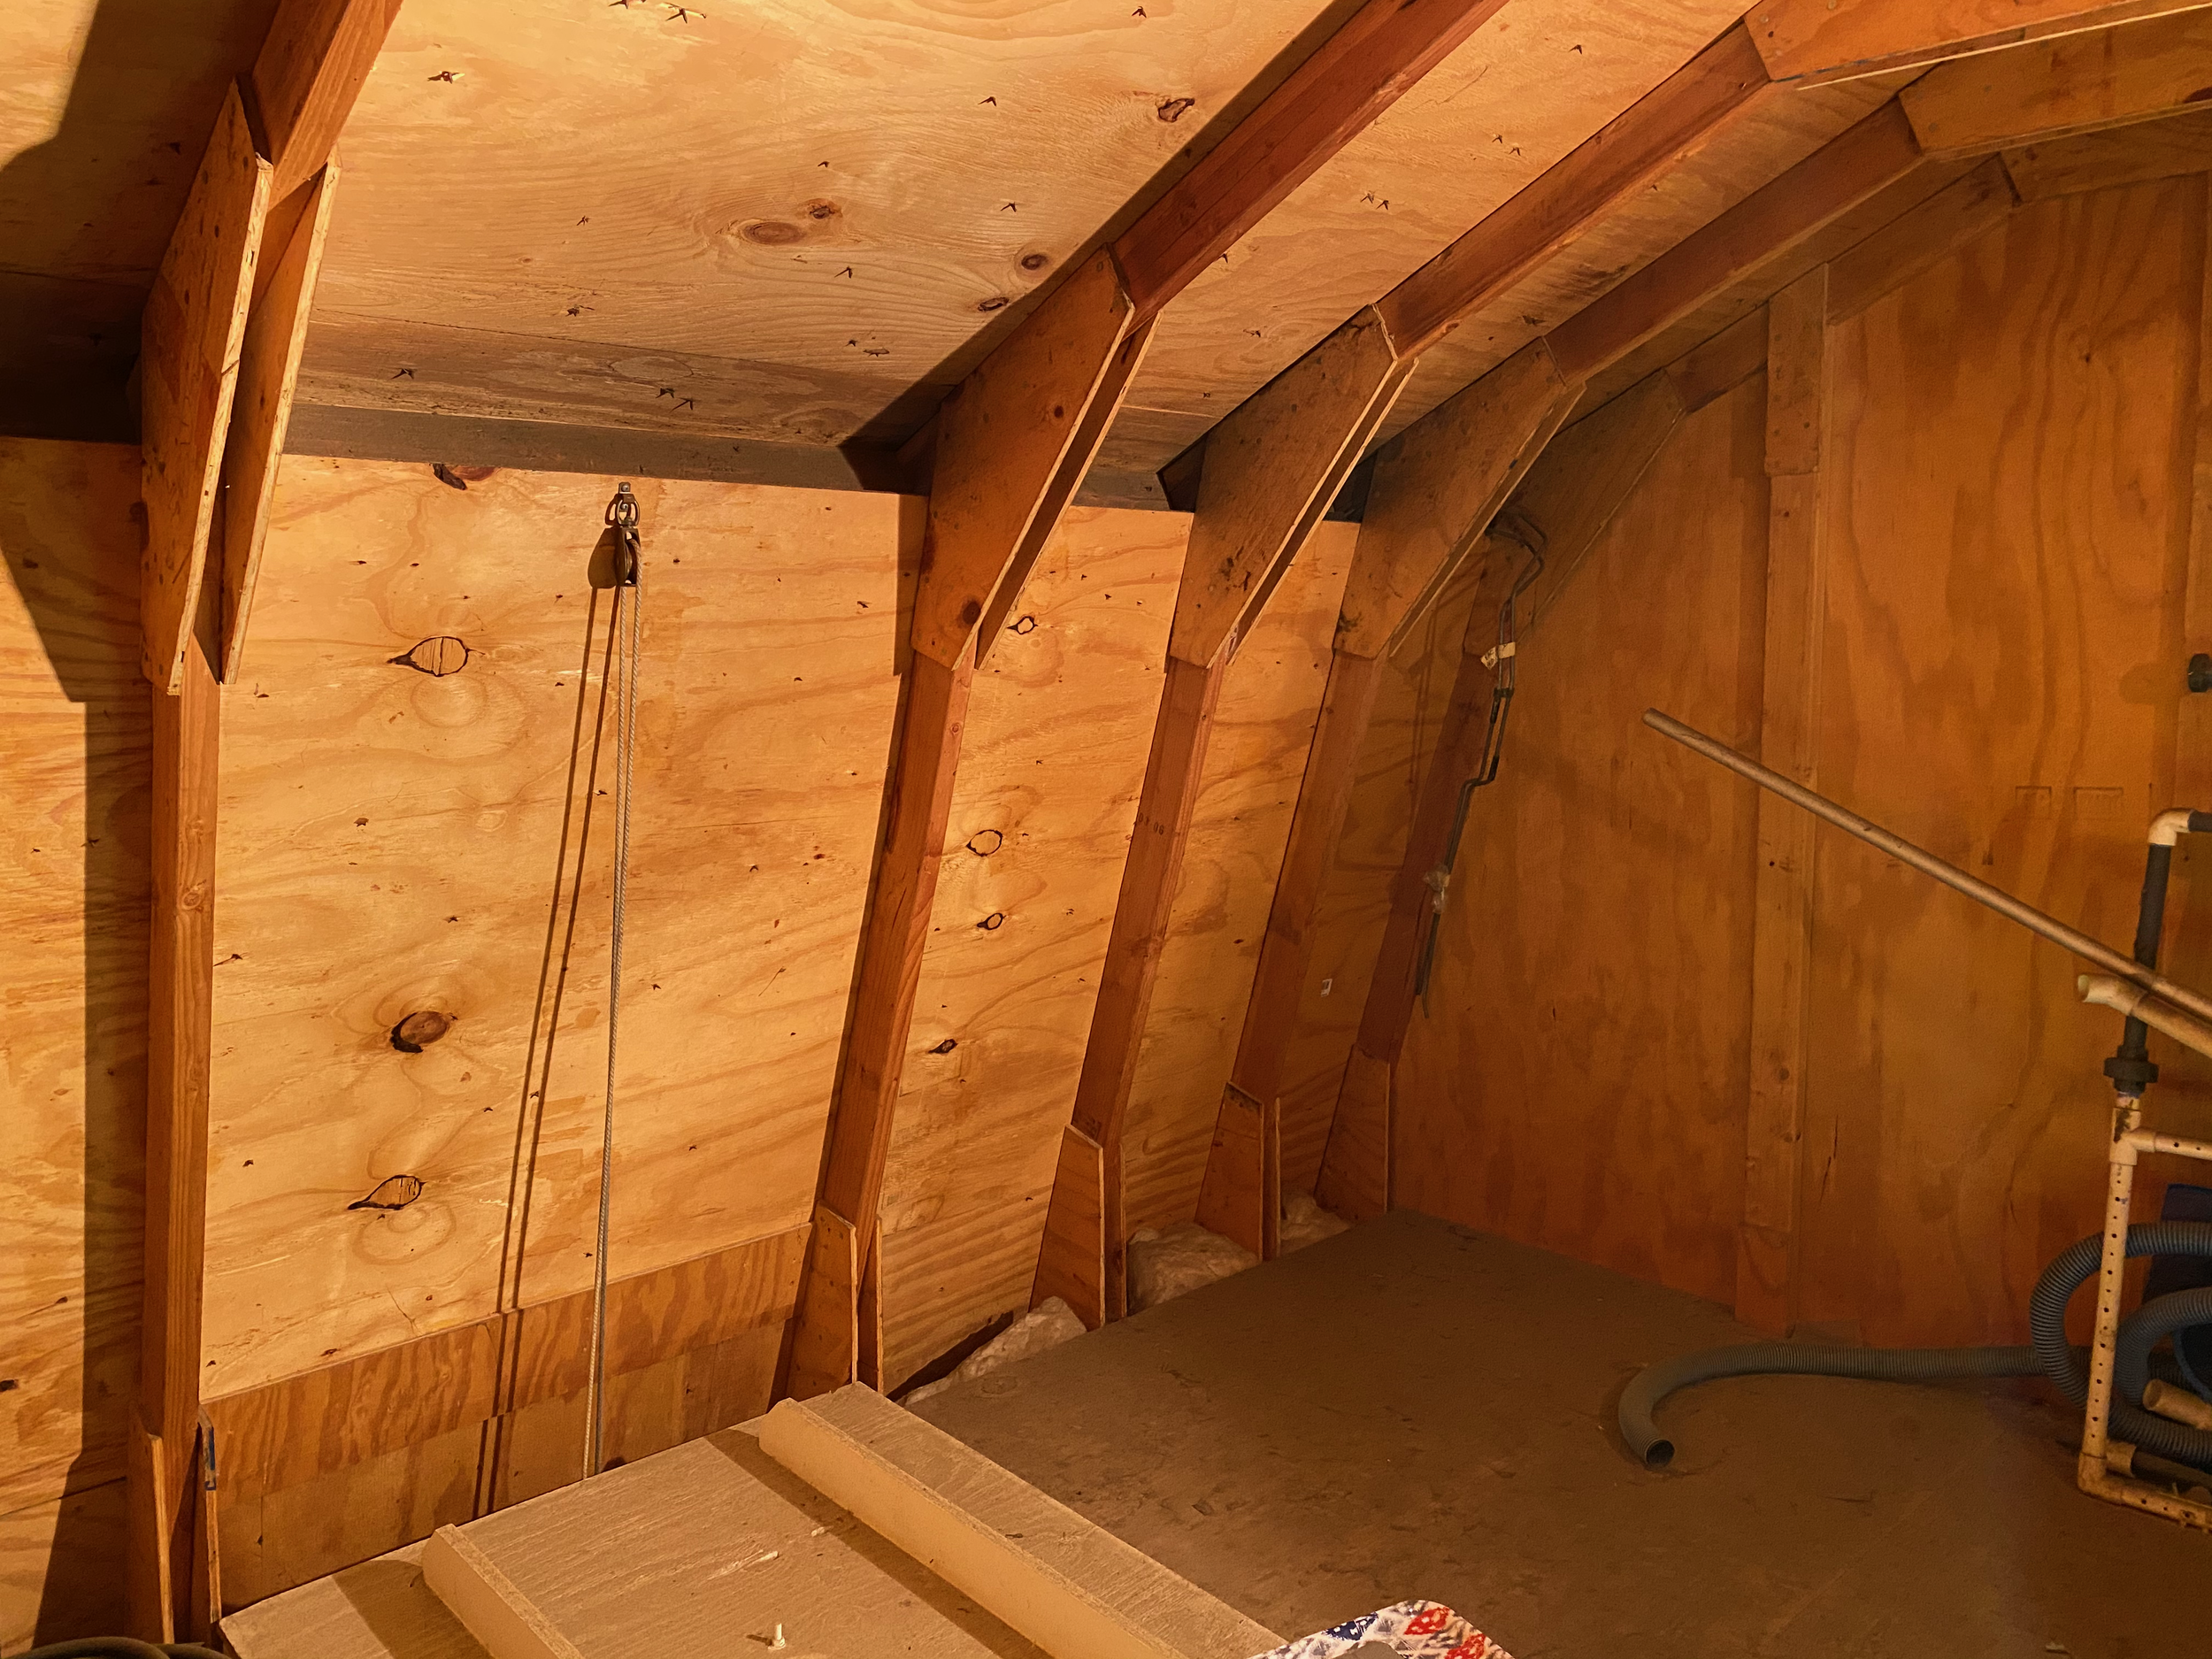
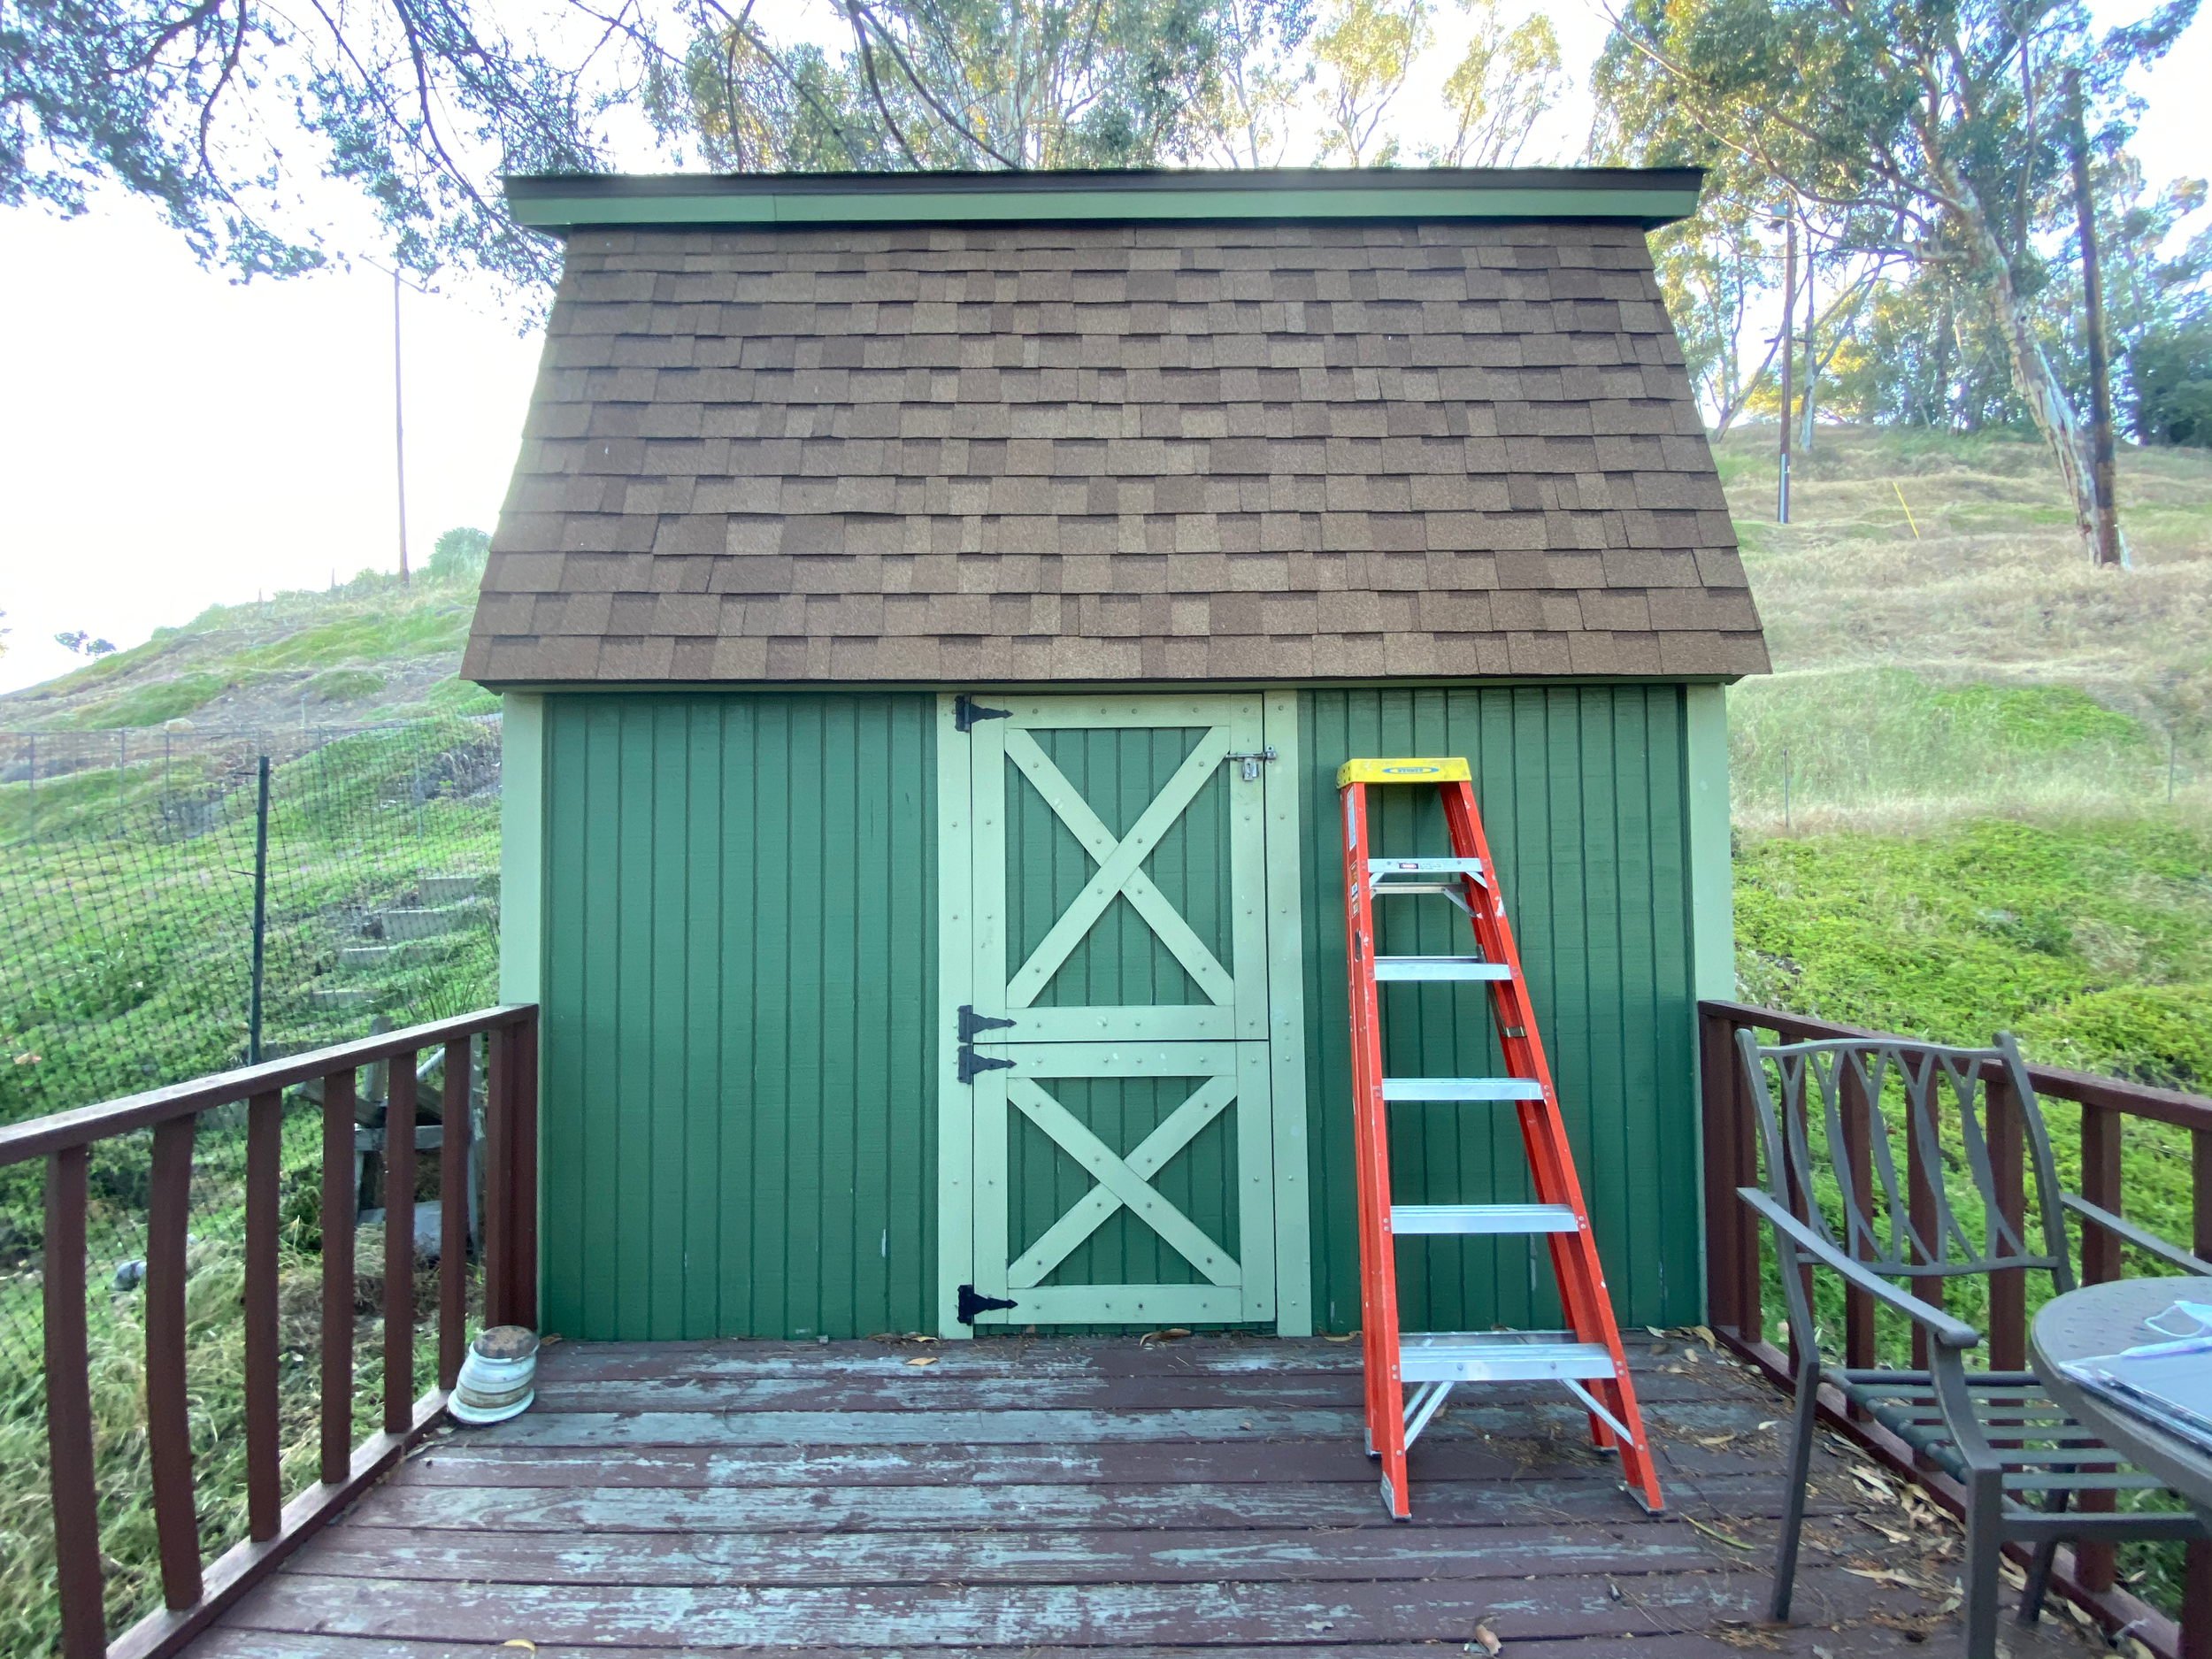
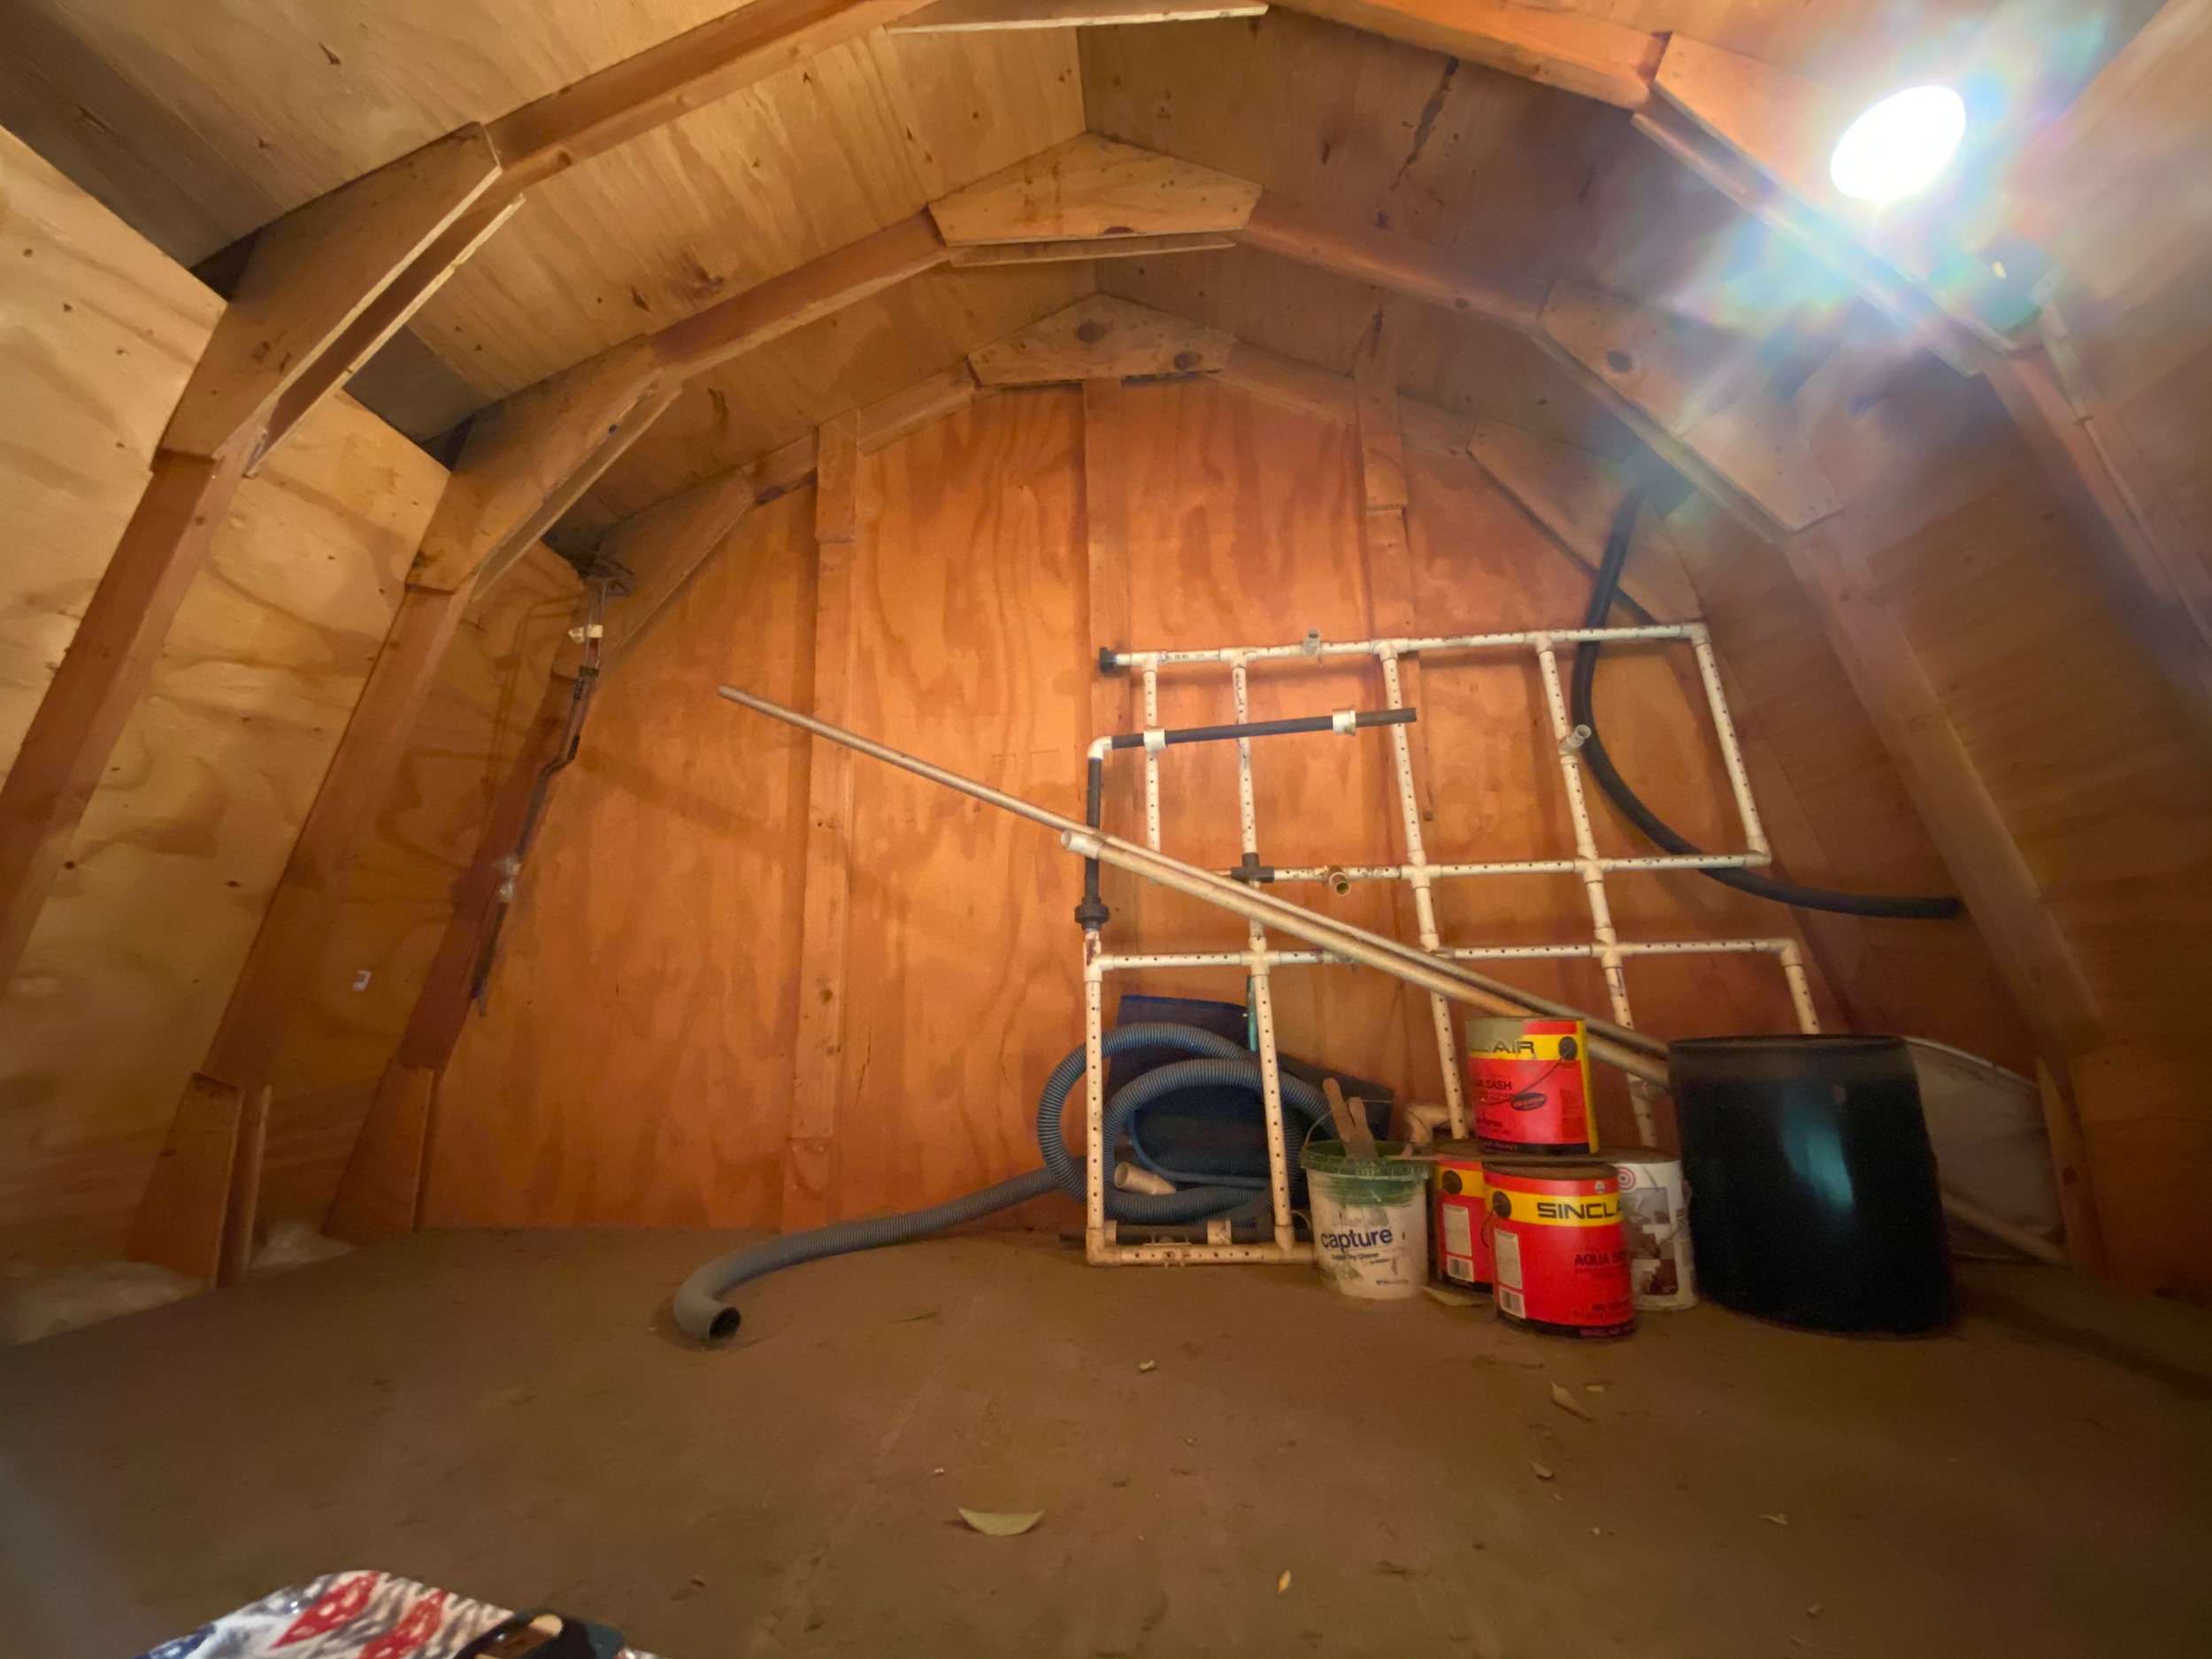
I started this project by taking photos of the existing space and taking every possible measurement. From this, I created a floor plan as well as a basic 3D model of the shed in Vectorworks and a more refined version in Twinmotion. I learned a lot about the process that many architects take when redesigning a space. Having a computer model of the existing space made it much easier to take on the next step in the redesign.
Initial Photos


Measurements/Floor Plans
3D Model/Rendering
Vectorworks Model
Twinmotion Rendering
First Floor Panorama
Second Floor Panorama
PART TWO: Final Design (Inspiration/Redesign/Final Rendering + Video)
Once finishing the 3D Model of the existing shed space, I went back into Vectorworks and Twinmotion to work on the redesign. In the new design, my main structural change was adding larger windows to the first floor and moving the windows from the first floor to the second. I also played around with furniture layout and the design inside. As the shed is a small space, I had to use elements to make the space feel larger. Instead of stairs, I opted for a ladder and I decided to only paint some of the walls with color to give the illusion of a larger space. After looking at inspiration photos, I chose to use green color scheme mixed with white, black, and different wood textures. For the final deliverable we were asked to create an animated video of the space showing the before and after of the new space.
Inspiration
Final Redesign!
Video (made on Twinmotion)
Exterior Design
First Floor
Second Floor
First Floor
Second Floor
PART THREE: Remodel of Physical Space (In-Progress)
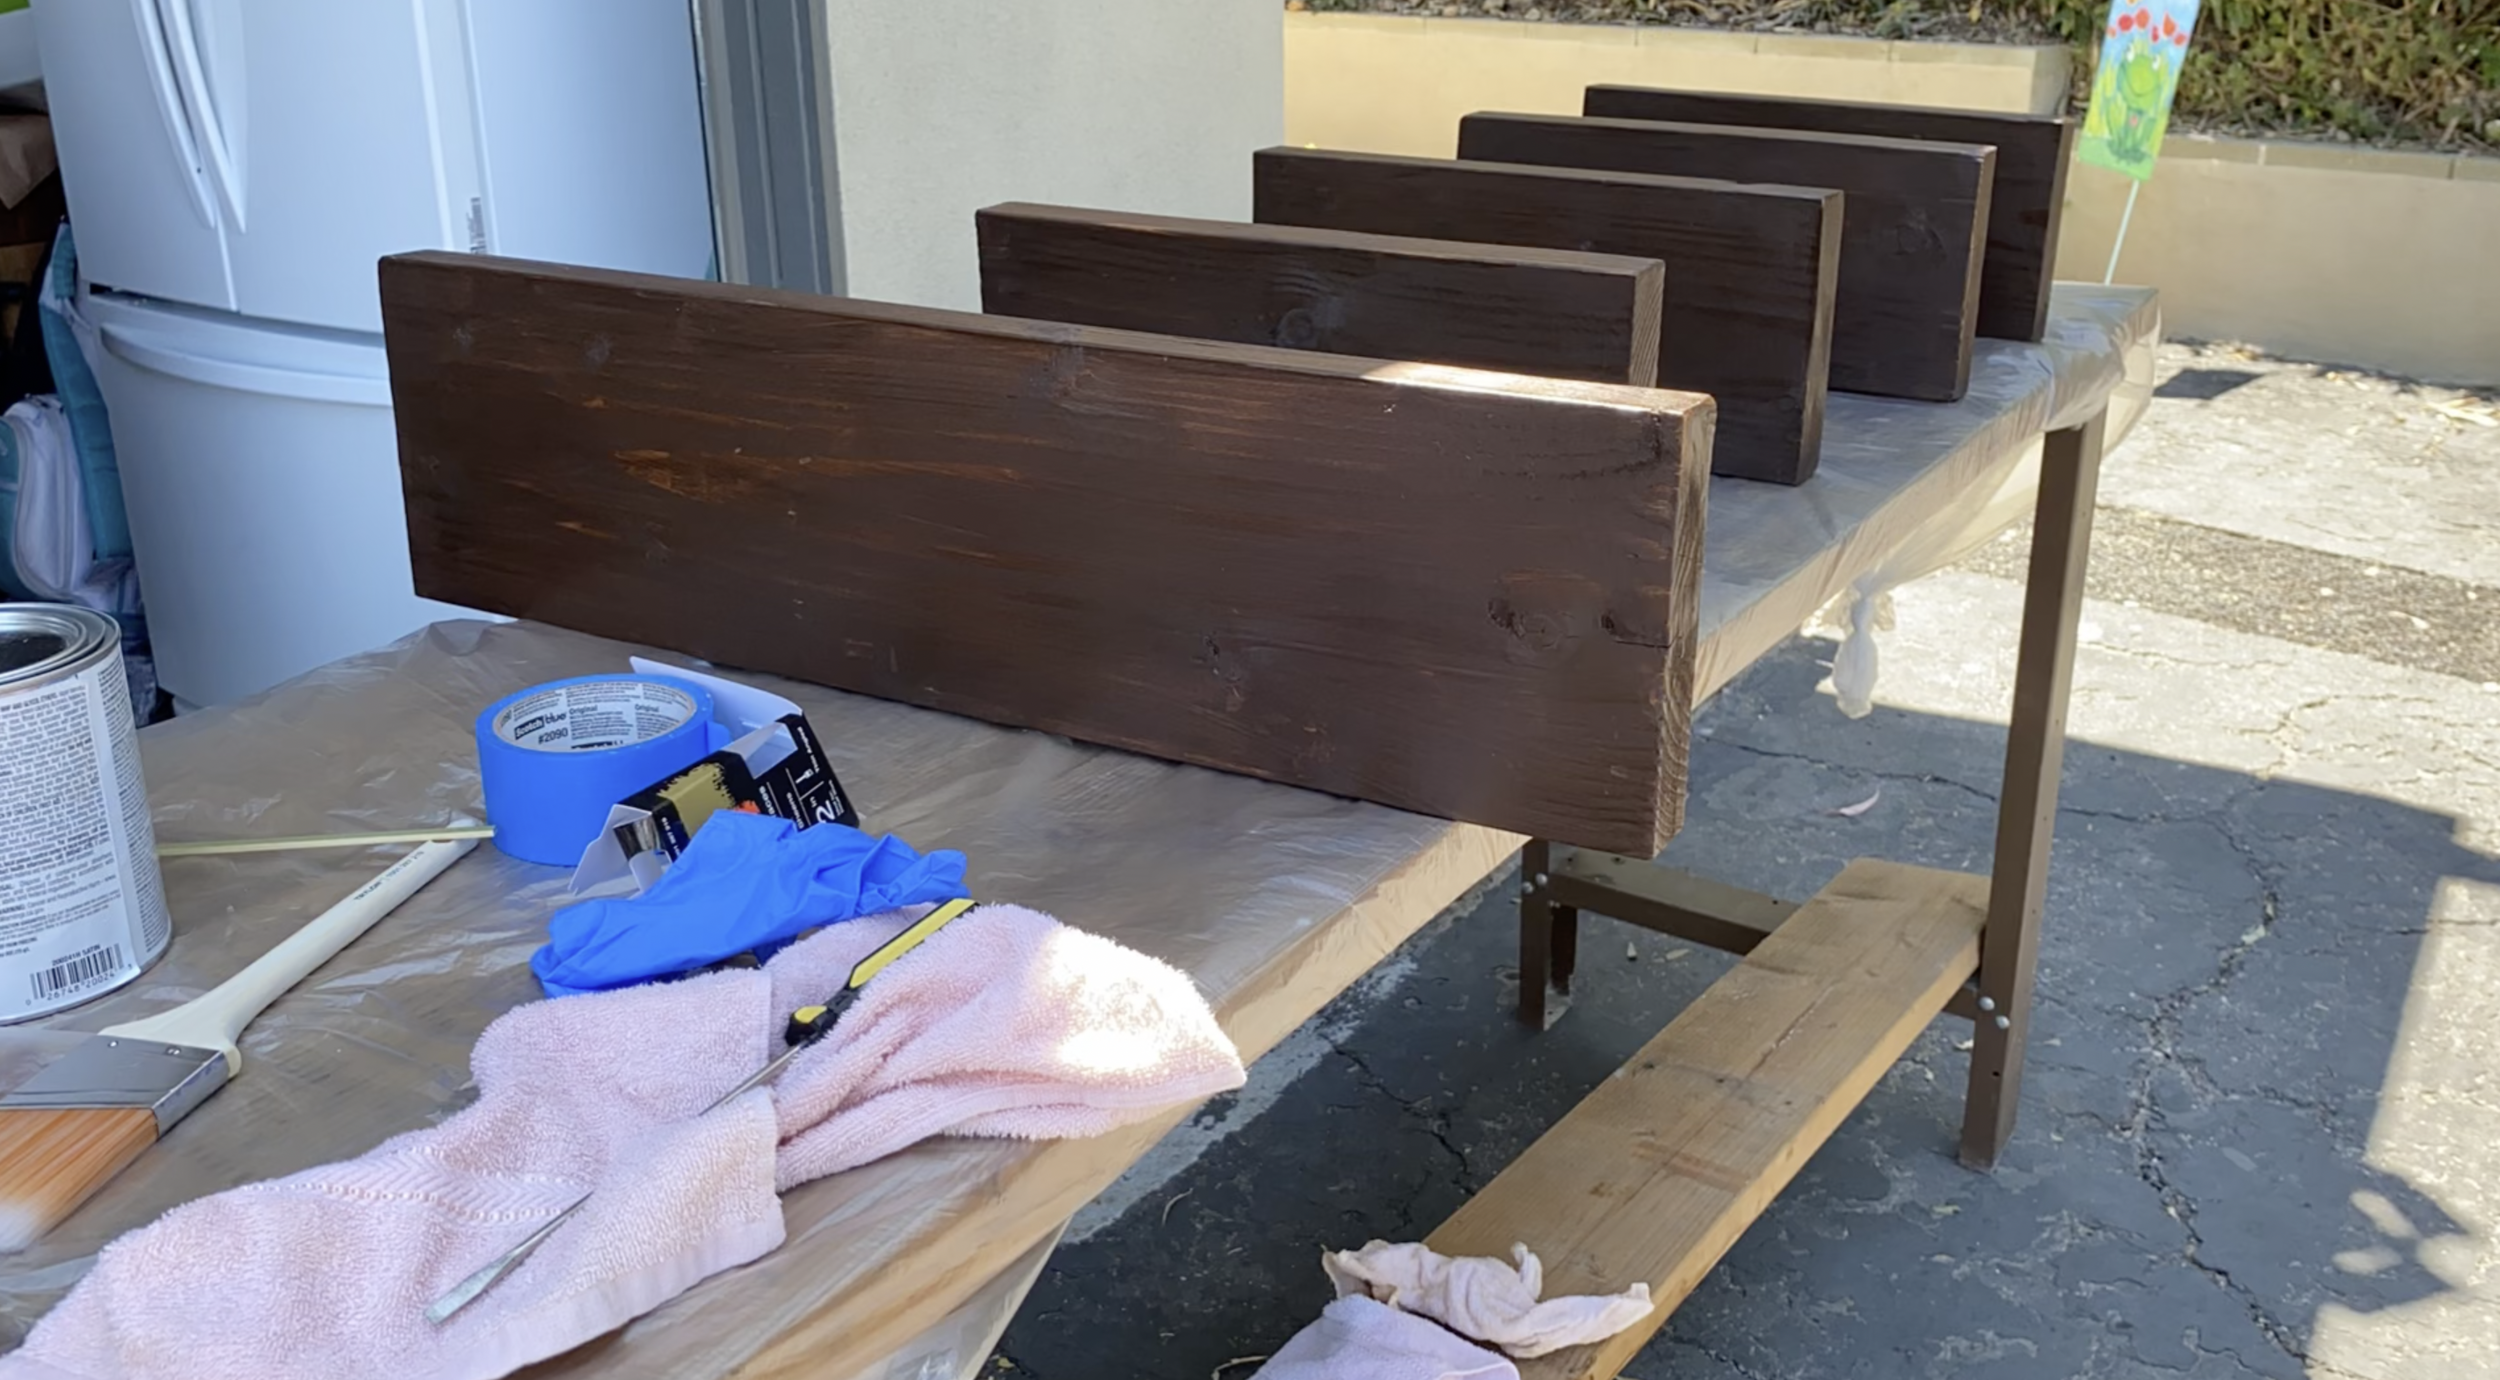
During my free time at home, I have been slowly renovating the shed. I had some help from a handyman with the actual construction of the second floor (flooring and drywall). On my own (and with a few friends I dragged along to help me) I have been working on painting, creating a faux brick wall, and building shelves/furniture. Having the previous floor plans and rendered designs have been really helpful for me to visualize what I want the space to look like.


